We compiled some of our favourite STEM activities perfect for you to try out at home so take a look and dive into the world of STEM!
Activities
Invisible Ink
Materials:
- paper
- paint brush
- 1 tbsp baking soda
- ½ cup water
- rubbing alcohol
- turmeric
This experiment combines chemistry and some detective skills to make for the ultimate science activity called Invisible Ink. To make your invisible ink solution, combine the 1/2 cup of water with 1 Tbsp of baking soda. Next, use your paintbrush to draw, write, or encode your secret message on the paper using this ink. Once the paper has fully dried, it's time to make your reagent. Mix a 1/2 cup of rubbing alcohol and 1 tsp of turmeric together then paint that over your paper and watch your top-secret message become visible!
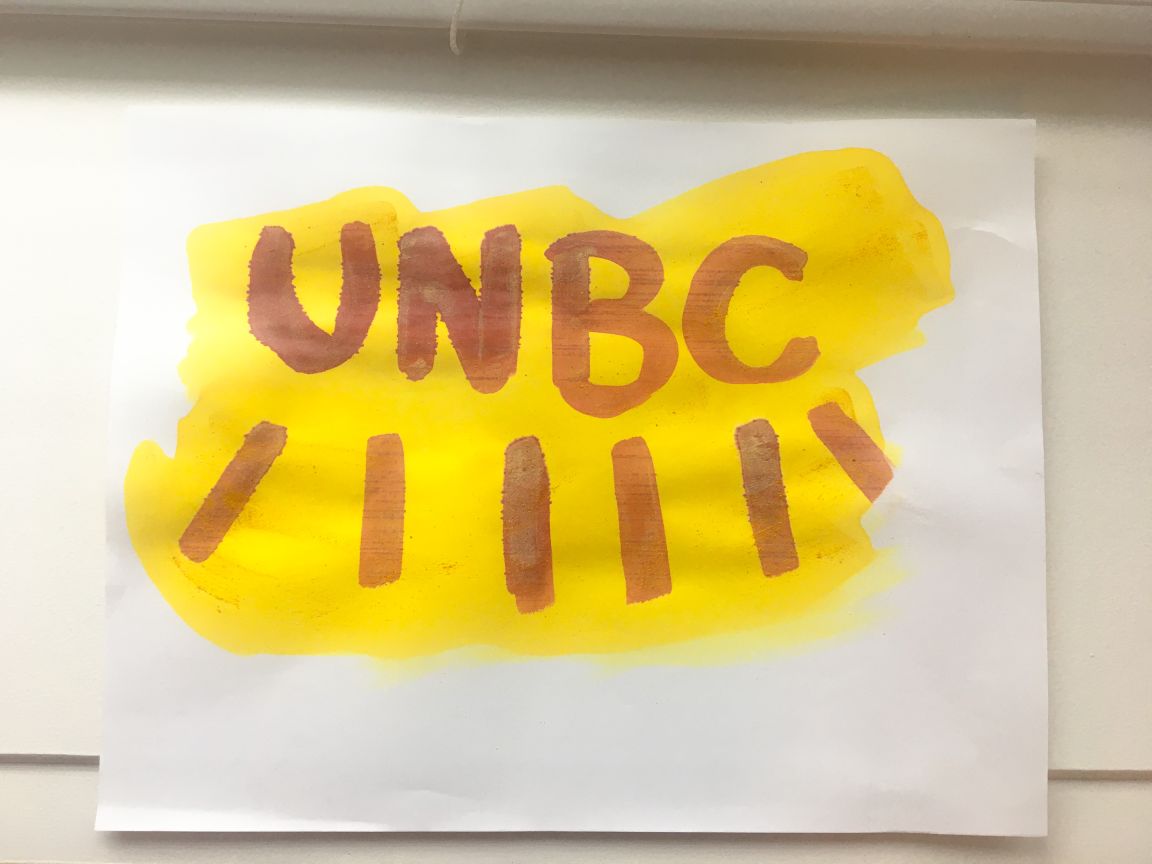
How does it work:
It's an acid base reaction, the baking soda mixture is the base and the turmeric mixture is an acid! The turmeric mixture is also something called a chemical indicator. Chemical indicators give a sign, in this case the change in colour of the invisible ink, depending on what the pH of the base mixture is. When the acid and base mix together the indicator changes the colour of the base to indicate the reaction has happened!
Activities
Oobleck
Materials:
- 1-2 cups of cornstarch
- 1 cup of water
- food colouring
This experiment is easy and fun to make, simply mix your ingredients together! To make it easier to mix in the colour, add your food dye to the water before you mix. Put your cornstarch into a bowl and add water mixing as you go until the mixture becomes thick and hardens when you tap on it. Now see the magic! When you tap the oobleck quickly you’ll notice it seems solid but try slowly putting your hands in the mixture and let it run through your fingers and it seems liquid! Warning this project can get a little messy but is easy to wash off your hands with water.
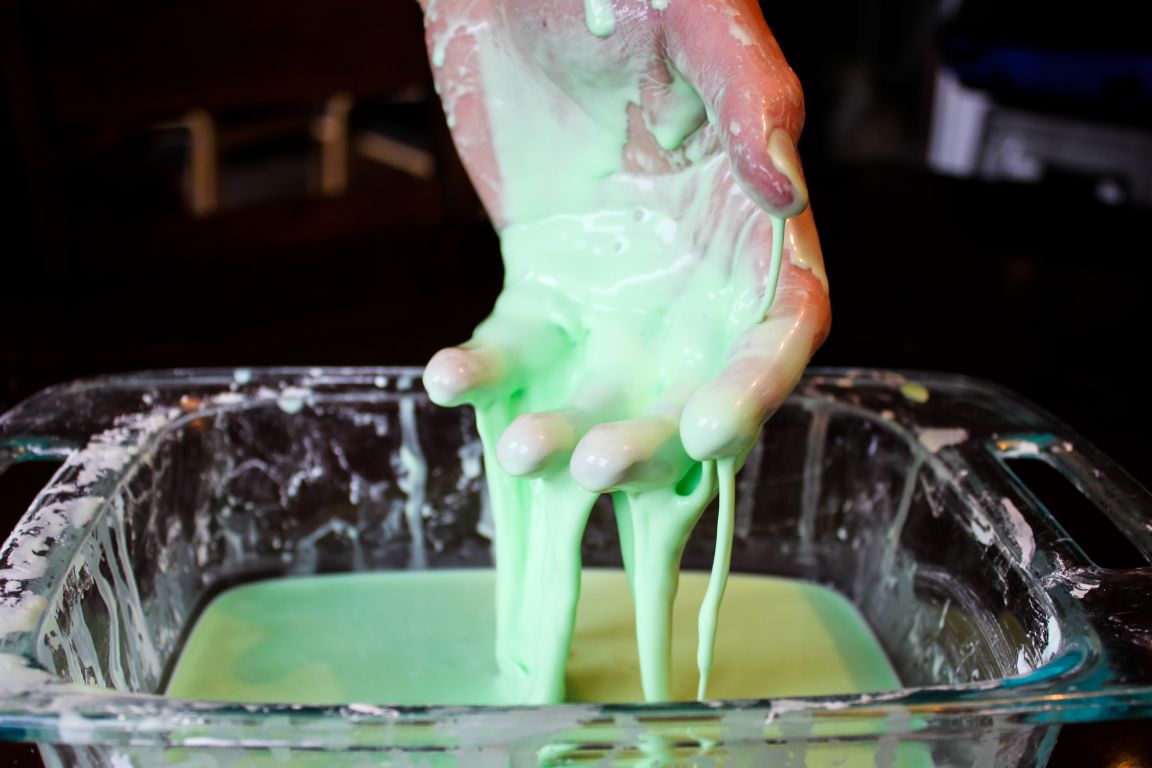
How does it work:
Oobleck acts this way because it is a non-Newtonian fluid which is neither a solid nor liquid but can act like both, making this is a super fun way to learn about phases of matter. This mixture is pressure-dependent so when you put more pressure on the mixture the viscosity (a way to describe thickness) increases! This is why it is hard when you punch it but liquidy when you slowly put your hands into it. If you are feeling ambitious make a big batch, put it into a pan or tub and show how you can walk across it!
Marble Maze
Materials:
- cardboard box lid/scrap cardboard
- straws
- tape
- scissors
- marble
- any other supplies found around your house
To get those engineering gears turning, make a Box Lid Marble Maze! Use the box lid as the base of your maze and tape the straws down in a cool maze formation making sure to make a start and finish to your maze, the rest is up to your imagination! Test out your design skills, look for stuff around the house to add as obstacles and get super creative on how to get your marble across the maze. Redesign as you go, then test out the final product! This is a fun open-ended activity leaves a lot of room for creativity and encourages them to use their engineering minds.
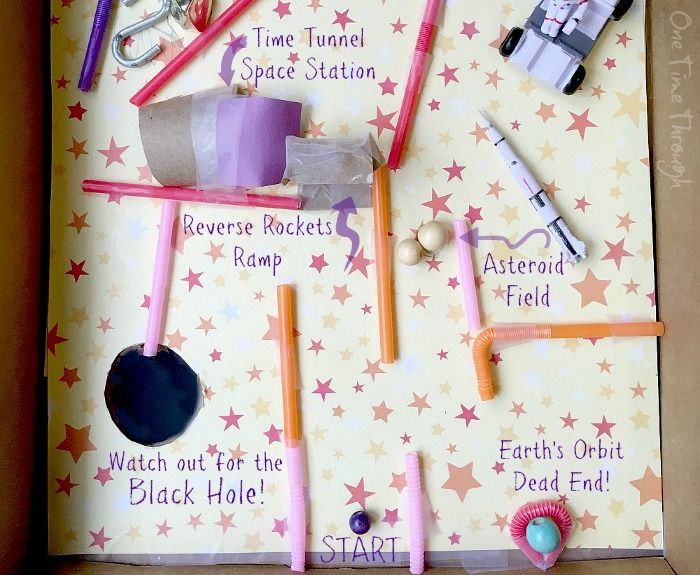
To get some inspiration take a look at this awesome space-themed maze from One Time Through.
Magic Milk
Materials:
- plate
- milk (the full fat milk performs much better!)
- food colouring
- dish soap
- a Q-tip
This STEM at home activity is an experiment we like to call Magic Milk!. Fill the plate with a layer a milk, have your kiddos drop in some of their favourite food colouring colours, dip a Q-tip in dish soap, and place the end of the Q-tip in the centre of the plate! Watch what happens when the dish soap comes into contact with the milk and see why we think this experiment is pretty magical.
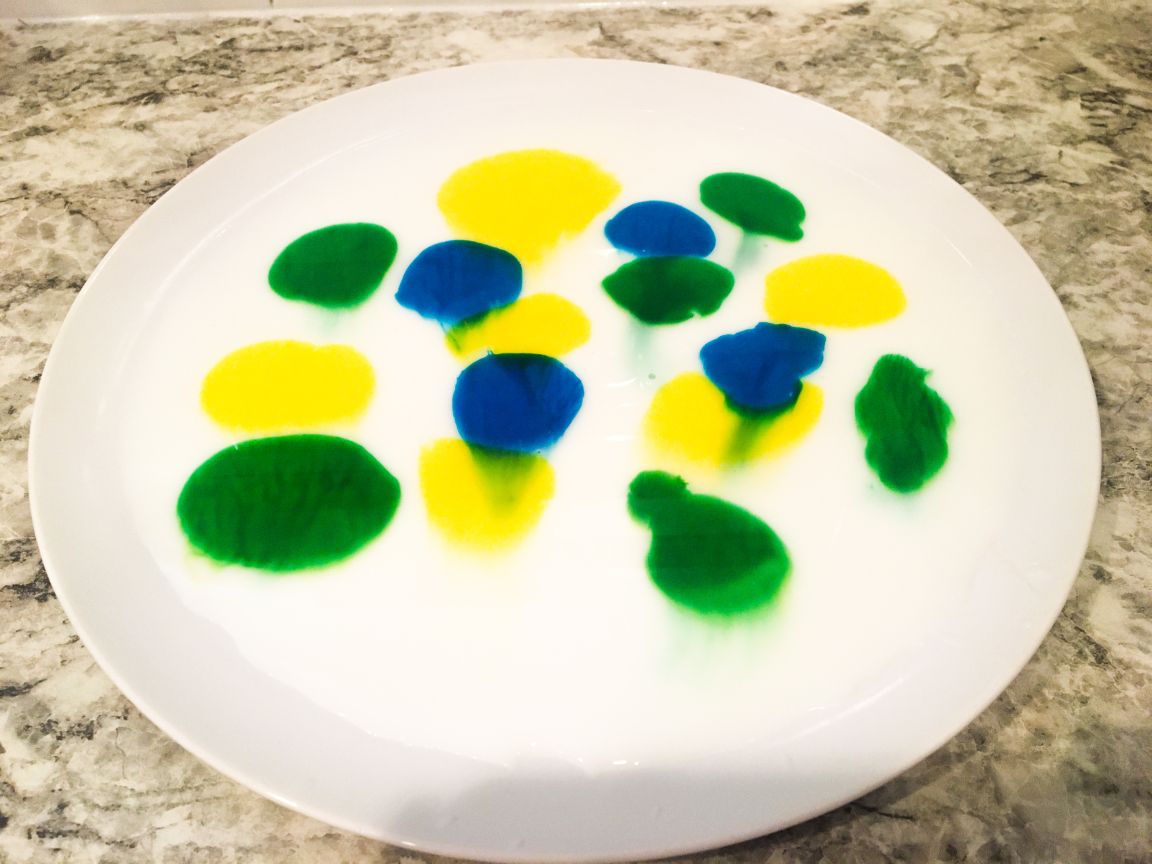
How does it work:
Milk is made of water vitamins, minerals, and small droplets of fat. The dish soap seeks out the droplets of fat, so once you drop the soap into the mixture the food colouring shows the movement of the soap and fat. When the colours stop swirling around, the soap has done its job and found all the fat!
Straw Rockets
Materials:
- straw
- paper
- tape
- scissors
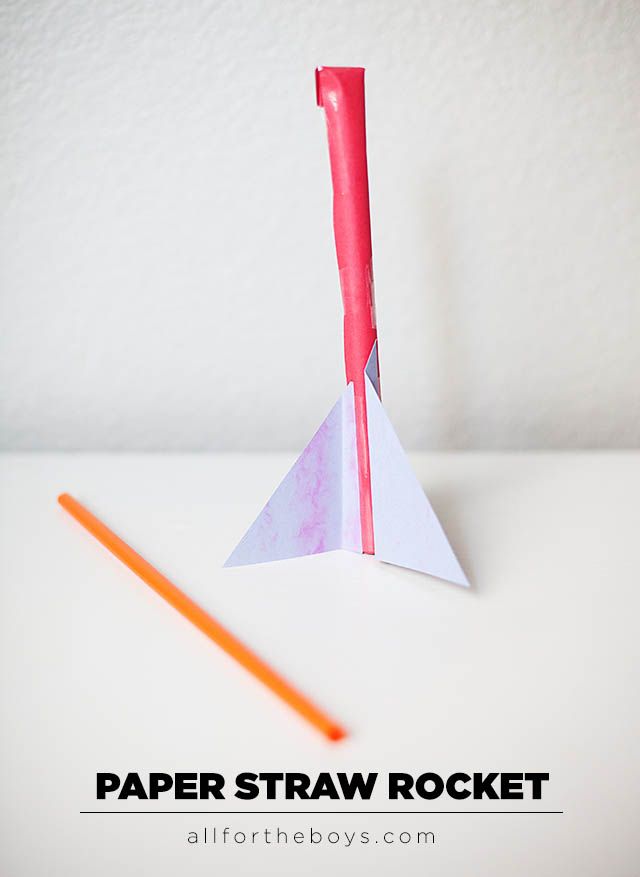
Prepare for blast-off with this STEM at home activity! Simply wrap and tape some paper around a straw for the body of the rocket, then tape the tip of the rocket closed to make the rocket nozzle. Cut out 3 small triangles for the rocket fins and tape these to the base of the rocket. Now put your rocket on the end of the straw and blow, launching your rocket into space! Now that you have the base rocket design put your engineering skills to the test and try out different designs!
Rocket aerodynamic studies how air flows over a rocket. This affects how stable and far the rocket flies! The nozzle and fins are used to try and reduce the air resistance, also known as drag, as well as keep the rocket from wobbling during flight. So try different length rockets, with different numbers of fins, or a pointy nozzle to see what rocket flies the best! 3…2….1…. Blast Off!
Watch this Science Buddies video for a more in-depth tutorial, and go to this Article to learn more about the science of rockets.
Ice Cream in a Bag
Materials:
- 2 large gallon-sized Ziploc bags
- 1 cup of half-and-half (you can also use whipped cream or milk)
- 2 tbsp granulated sugar
- ½ tsp of vanilla extract
- Ice
- 1/3 cup of rock salt (other salt may also work but may take longer)
- Optional: Sprinkles and any yummy toppings!
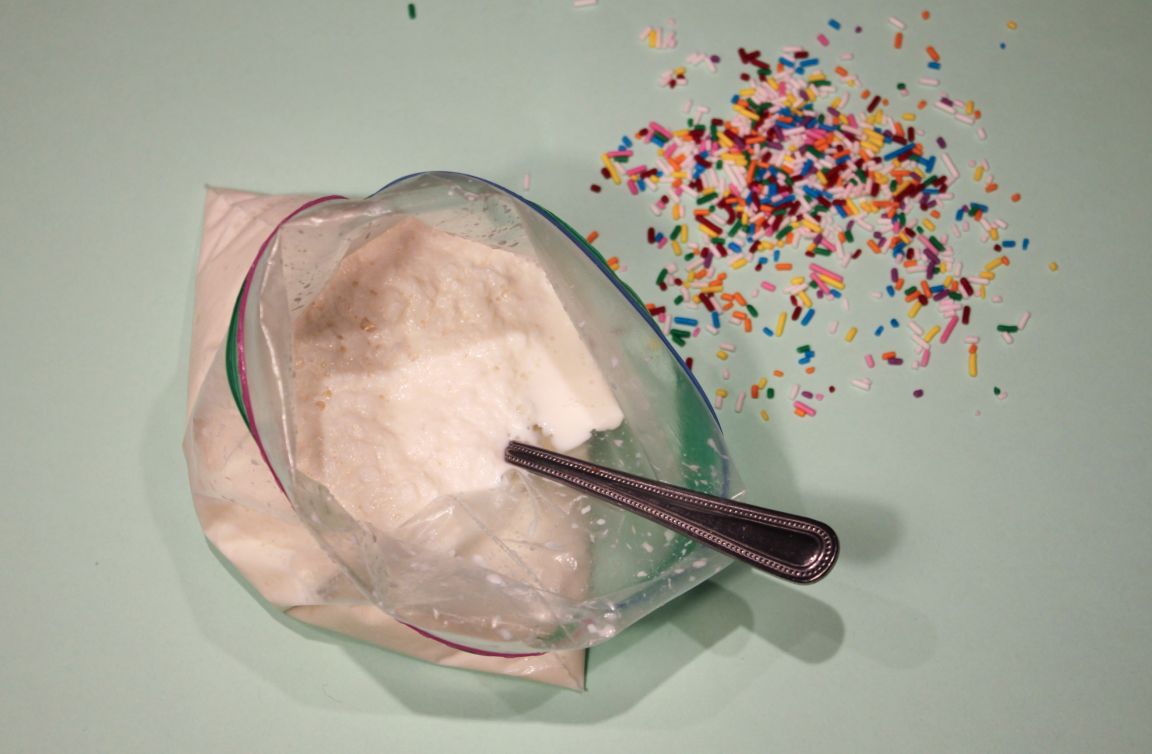
First, grab 2 large gallon-sized Ziploc bags. Fill one will have 1 cup of half-and-half, 2 tbsp. granulated sugar, and 1/2 tsp of vanilla extract and zip it up. Fill the other with ice and 1/3 cup of rock salt. Now put your first bag into the bag filled with ice and shake! This is going to be really cold so you may want a towel to hold the bag while you shake or go outside and play hot potato with your ice cream bag! You want to shake vigorously for around 7 minutes or until your ice cream is thick! Now you get to eat your tasty creation!
How does it work:
The science behind this is salt lowers the freezing point of the ice, making the overall temperature of the bag colder to freeze the ice cream. This happens because salt makes ice melt faster and as it melts heat is absorbed, making the surroundings (the bag) even colder! The salt molecules wedge themselves between the water molecules as the ice melts and keeps them from sticking together and refreezing. This all means your bag gets really cold and this cools down your cream to make ice cream! Who knew science could be so tasty!
Soap Powered Boats
Materials:
- thin styrofoam (like used in meat packaging) or a sturdy piece of cardboard
- liquid dish soap
- pan/bucket, sink or bathtub filled with water
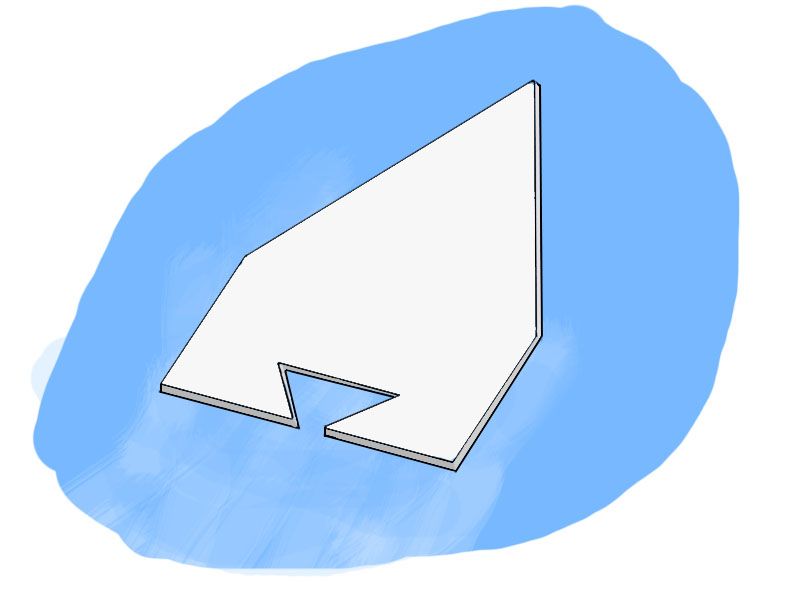
To start, you’ll need a piece of thin Styrofoam like that used in meat packaging or a sturdy piece of cardboard. Cut it into a boat shape as shown in the picture below, the ideal boat length is about 2 inches long. Next, spread liquid dish soap on the edges of the notch at the back of the boat. Place your boat in a pan of water or even the bath tub and watch it go! Decorate your boats and get your family together to have a soap boat derby race at home!
To expand on this experiment try using different types of soap, which works best? Does hot or cold water make a difference, what about different shapes and sizes of boats?
How does it work:
This works because of the cool properties of soap! It is a surfactant meaning it is able to break up the surface tension of water. Surface tension is fancy way of saying the surface of liquid is strong and able to resist forces exerted on it. This is because water molecules are like best friends and always want to stick together. So light things, like your boat, float on water because they are not strong enough to break those molecules apart! But when the soap is dropped in it breaks up those bonds between the water molecules, this generates force that is strong enough to push your light boat around!
Picture from Science 4 Fun.
Baking Soda Paint
Materials:
- paper
- baking soda
- food colouring
- water
- a paintbrush
- vinegar.
In a small bowl combine equal parts baking soda and coloured water to make the paint. This mixture shouldn't be too liquidy or chunky. The amount of each ingredient you mix will depend on how much of that colour you want but repeat this step as many times as you'd like to make different colours of paint. Next, take your paintbrush and paper and get creative by drawing whatever you can imagine. Maybe a dinosaur, maybe a spaceship?
Once your masterpiece is complete, drip vinegar onto your painting and watch the artwork come to life by bubbling and fizzing on your page

How does it work?
A chemical reaction is happening right in front of your eyes! When the baking soda (a base) and vinegar (an acid) meet they create carbon dioxide gas. This is a classic acid-base reaction where the acid and base react leaving behind water, sodium acetate, and carbon dioxide which is what is in those bubbles on your page! You can even feel it if you put your hand close to the paper!
Photo from Little Bins for Little Hands
Chicken Sounds in a Cup
Materials:
- a plastic drinking cup
- yarn or cotton string (nylon will not work as well)
- a paper clip
- paper towel
- a nail
- water
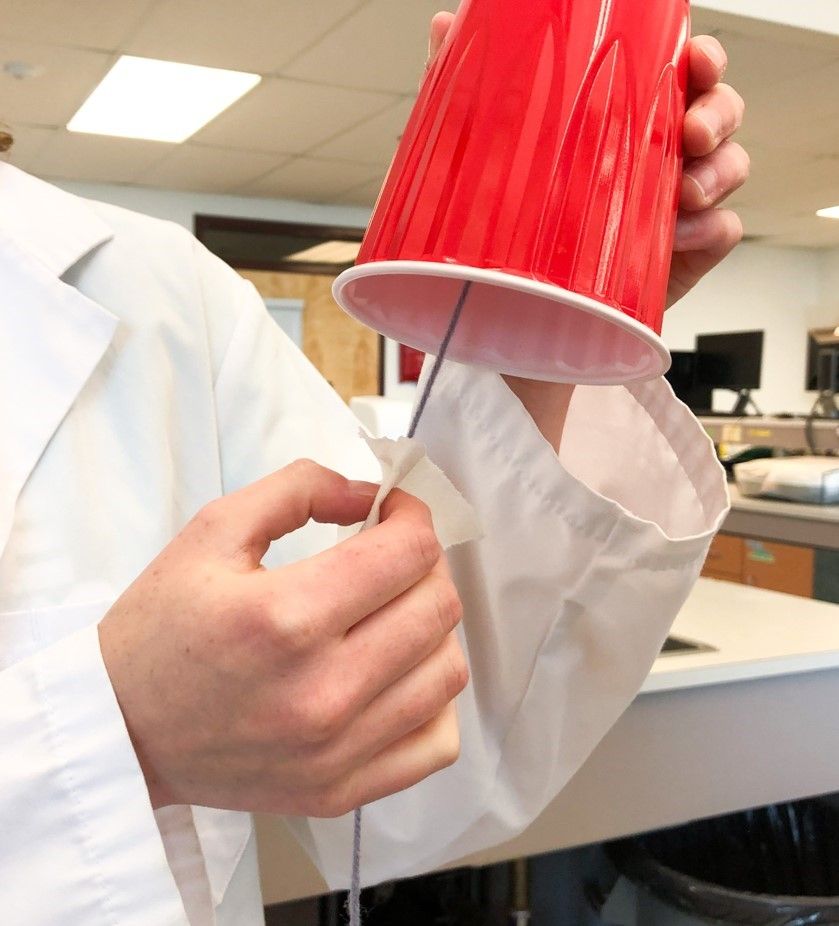
Firstly cut a piece of string around 40 cm long. Then poke a hole in the center of the bottom of the cup (it’s a good idea to have an adult do this part!) Tie one end of your string to the middle of the paper clip, then thread the string through the hole in the cup and pull through. Now get your paper towel, cut a piece around the size of a $20 bill, fold it in half and get it damp with your water.
Now time to hear that chicken cluck! Hold the cup in one hand and with the other wrap you paper towel around the string and pull down in short jerks. And there you go chicken sounds in a cup
How does it work?
This is an example of a sounding board! Sound travels as vibrations, and the vibrations from the string would be nearly silent if you were missing one piece of the contraption: the cup! This was your version of a sounding board, which makes the sound louder by spreading the vibrations and amplifying them! Some other examples of soundboards are the wood in pianos and music boxes which makes the music they produce louder!
Bubble Snakes
Materials:
- empty plastic bottle
- scissors/exacto knife *get a parent to help you when using these!
- sock
- rubber bands
- bubble solution
Procedure
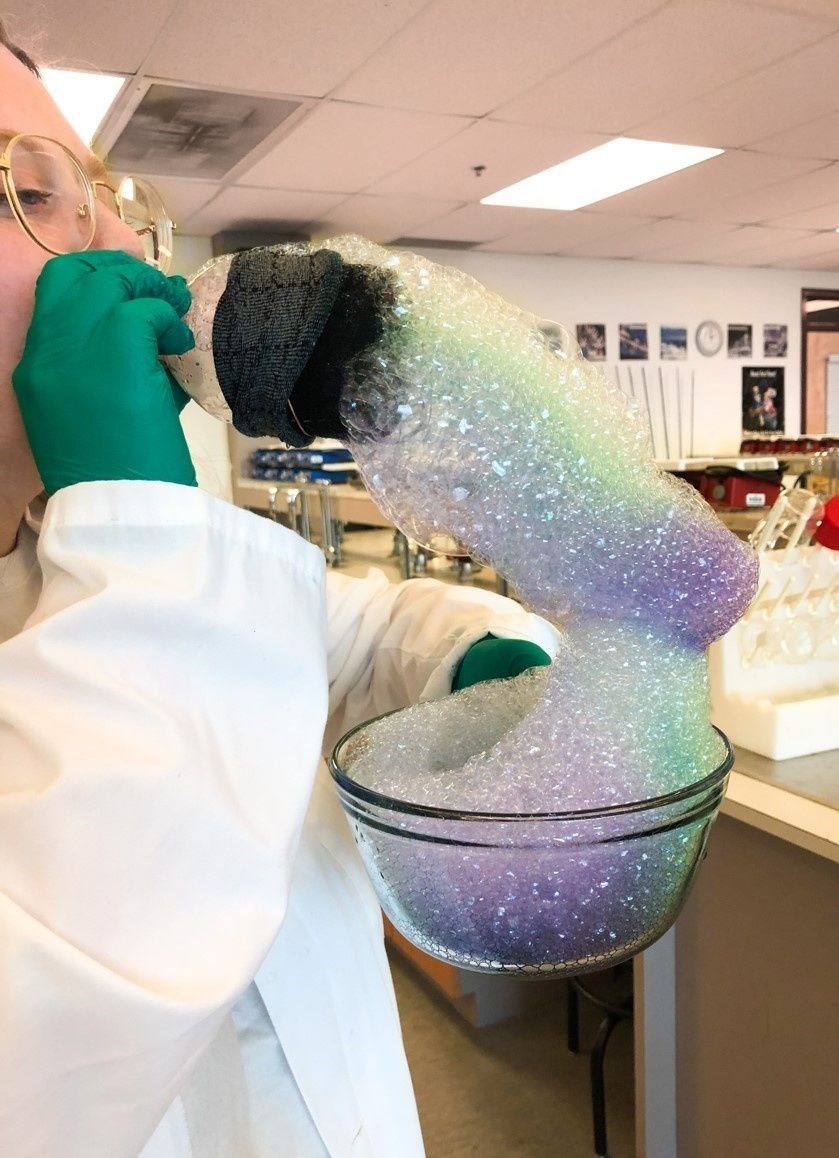
To start you’ll need an empty bottle, this experiment is a great way to use recycled materials! Begin by getting your parents to help you cut the bottom of the bottle off so that the bottle has two open ends. Next, take an extra sock and place it tightly over the end of the bottle that you just cut. Use a rubber band to hold the sock in place on your bottle! To make your bubble snake, dip the sock end into some bubble solution then blow through the mouth of the bottle!
Make sure you blow into the bottle rather than breath in or you’ll get a mouth full of bubbles! To make your snake a little more colourful, drop some food dye onto your sock before dipping it in the bubble solution
How does it work?
This experiment works because of things called hydrogen bonds! When you blow in to the bottle you are creating hundreds of tiny bubbles that then cling together when they come out the other end of your sock. Hydrogen bonds in one bubble are attracted to the hydrogen bonds in the other bubbles so they stick together!